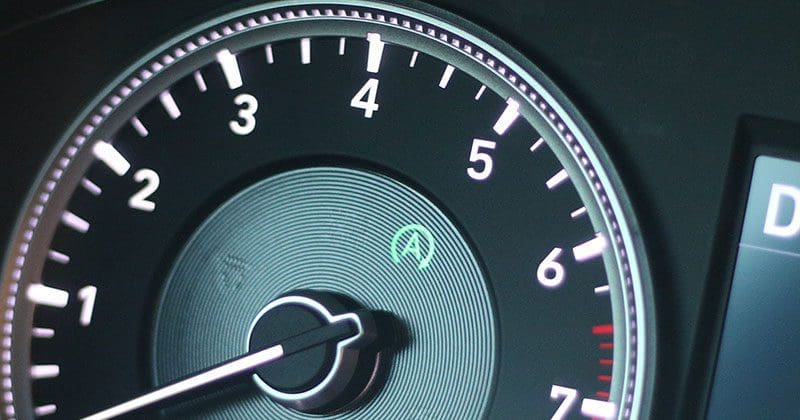
Many new cars and trucks come with a feature called stop-start technology. This system senses when the car is stopped at a red light or stop sign and shuts down the engine to save fuel. As soon as you release the brake pedal, the engine starts up again, and you’re on your way. The question for those of us who are interested in upgrading our vehicles is, does this technology work with our new electronics? Read on to find out if your new high-power amplifier, dash camera or radar detector will get upset when your car stops and starts.
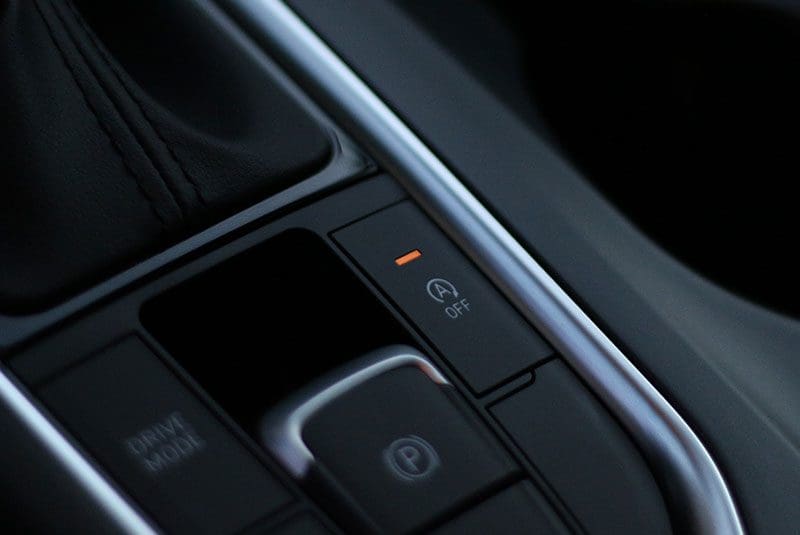
How Does Stop-Start Technology Work?
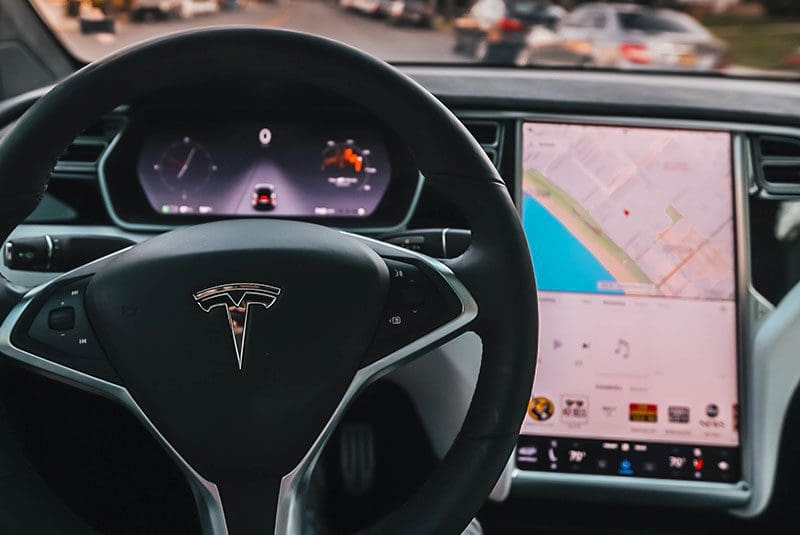
Almost all new cars are controlled by computers. As such, the act of turning off your engine at a stop light is as simple as cutting spark to the ignition system and fuel injectors. To restart the car again, the vehicle initiates the start-up sequence as though you pressed the start button on the dash. The radio keeps playing, the climate control system keeps running and all the lights stay on while the engine is off. Other than an eerie silence and a split-second hesitation when it’s time to drive off, you don’t really notice anything.
In the background, the computer in your car is monitoring several systems to determine when it should stop the engine and when it needs to start it again. If it’s summer and you’re running the air conditioning, the computer will monitor the temperature in the vehicle. If it starts to warm up, it starts the engine so the compressor can run. If it’s winter and you have the heated seats and rear window defroster running, the system pays close attention to the current draw on the battery and its voltage. Brake pedal pressure, the position of the clutch (if you have one), engine coolant temperature, a buckled seat belt and many other conditions determine whether the engine will stop at a light and when it will restart.
What’s the Problem with Stop-Start Systems?
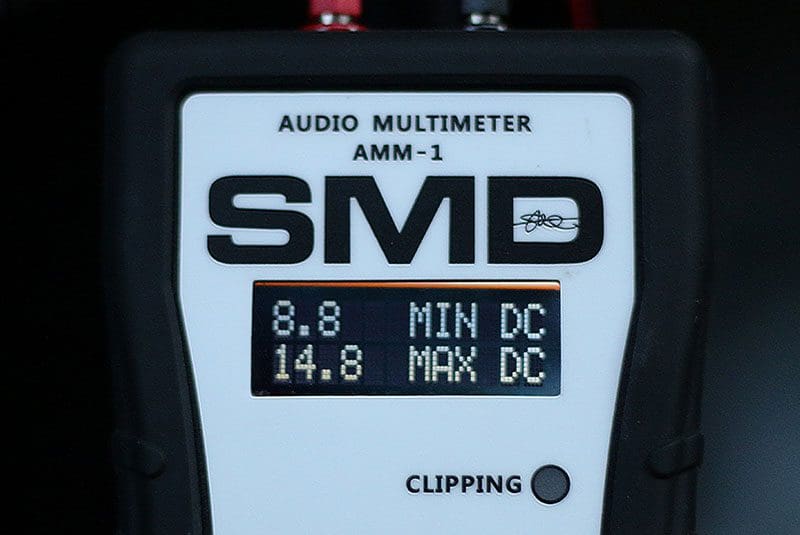
While saving fuel seems like a great idea, there is a drawback to this system in terms of aftermarket electronics in your car. When the engine starts, there is a large draw from the vehicle battery. In some cases, the battery voltage can drop well below 9 volts. For many years, electronic devices designed for use in cars had a low-voltage cutoff around 10.8 volts. In cases where the voltage drops into the 9V or less region, your amplifier, signal processors, source unit, dash camera or radar detector may shut down, then restart once the voltage increases. If the voltage drop is extreme, problems with the microcontrollers in your devices may occur.
Dealing with Stop-Start Vehicles
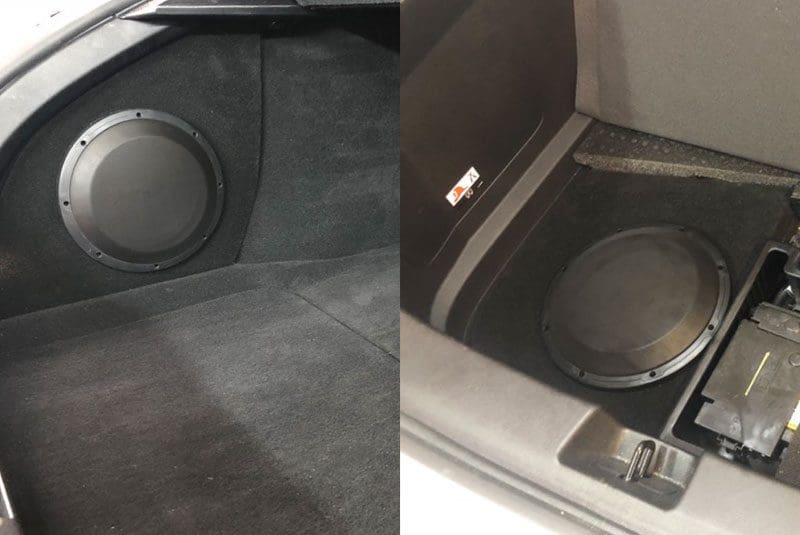
If you own a vehicle equipped with one of these fuel-saving technologies and are interested in adding aftermarket electronics, search for a specialist mobile enhancement retailer who is familiar with how they operate.
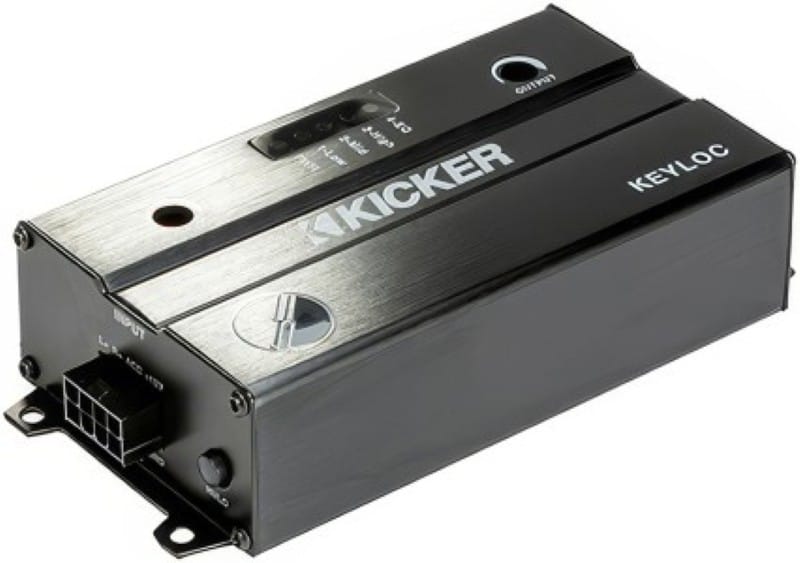
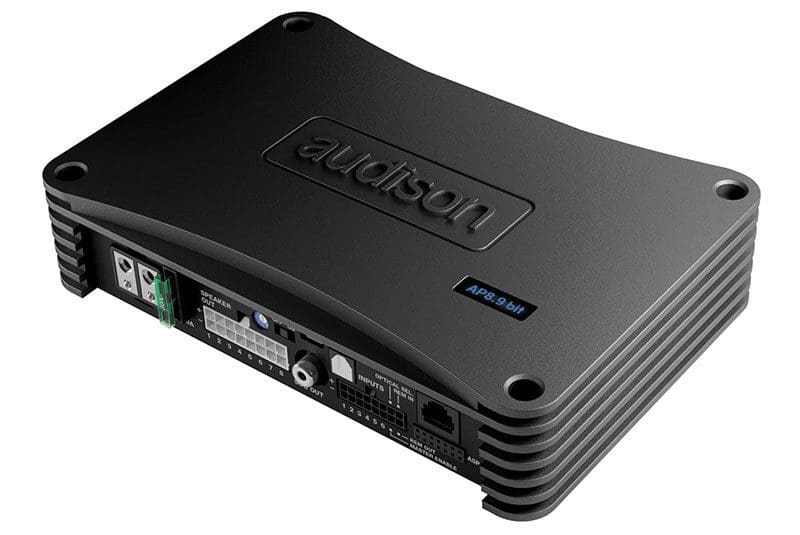
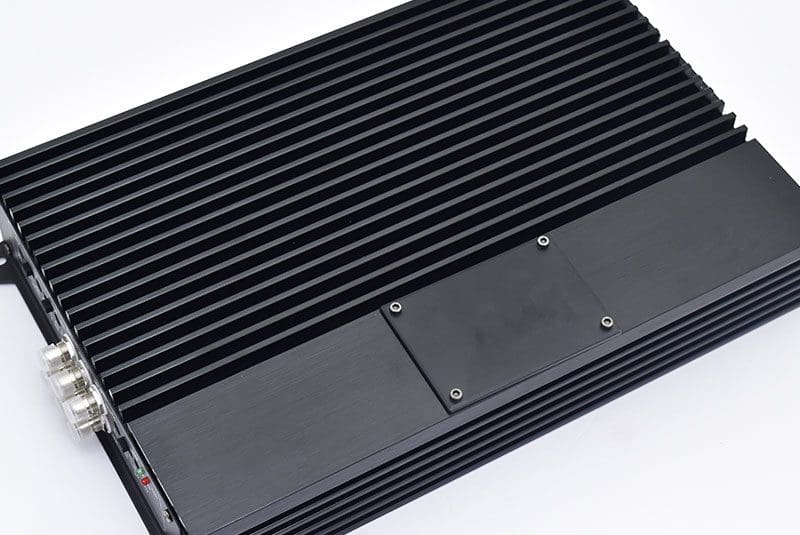
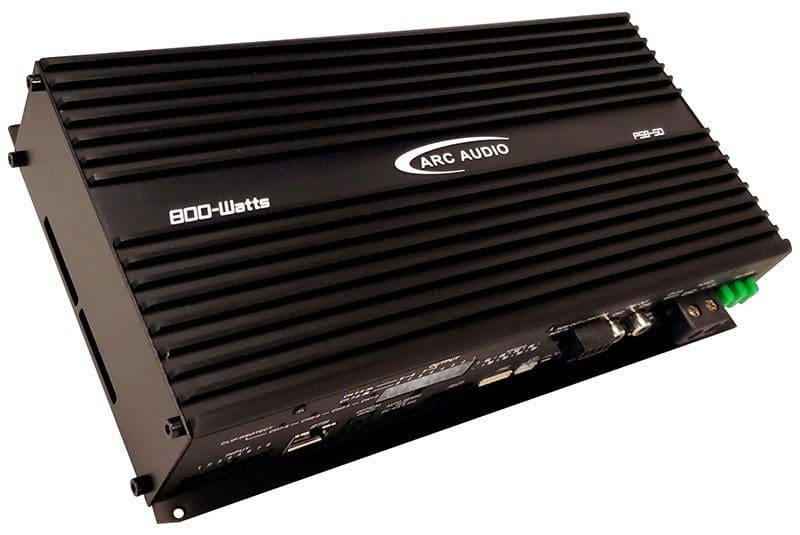
For low-power devices like signal processors, radar detectors, laser jammer and dashcams, voltage stabilization modules are available to help keep everything happy. Companies like ARC Audio design their new amplifiers and processors to handle these low-voltage conditions. Audison offers a product called the ES3 that will help maintain voltage to certain low-power devices. Work with your salesperson to choose products that list stop-start compatibility in their feature list.
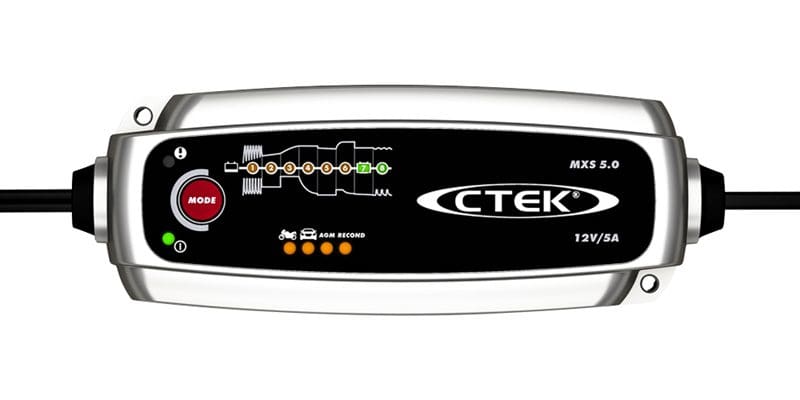
You will also want to make sure that the battery or batteries in your vehicle are in good condition. Even after a few years of regular use or in even harsher conditions involving multiple short trips, batteries can build up a layer of sulfate on their lead plates that can dramatically reduce their current delivery efficiency. A high-quality battery charger with maintenance capabilities can be a great investment in maintaining the life of your batteries and, of course, will ensure that your vehicle is ready to go whenever you are. Some companies offer maintenance chargers specifically for start-stop batteries.
Choose Your Technology Upgrades Wisely
If you’re thinking about upgrading the technology in your new car or truck that has stop-start technology, visit your local specialist mobile enhancement retailer and ask them about the solutions they have available.
This article is written and produced by the team at www.BestCarAudio.com. Reproduction or use of any kind is prohibited without the express written permission of 1sixty8 media.